Photography while Bike Touring
I will discuss bicycle touring photography in this article. I will mention what kind of camera to buy, how to shoot nice photos, how to edit photos, and storing photos safely.
Selecting a camera for a bicycle touring adventure
I began the search for a more permanent camera that would be used for bicycle touring and other similar activities (like riding through the woods or ice biking in the winter).
I came up with the following “wish list”.
The best type of camera for cycle touring
Small size
Important because I wanted something that I could easily carry with me on a regular basis. I felt that the larger cameras that required bulkier carrying cases would be more likely to not be with me when I found the picture I wanted to take.
Of course, from a touring perspective, a smaller camera is significantly easier to pack and a smaller size often translates to lighter weight as well.
Rugged/Difficult to damage
This one comes down to feeling comfortable taking the camera with me on the bike as well as with me when I pursue some of my other leisure-time activities like land kiting and dirt surfing.
Digital
To me, one of the best things about going digital is that you can take lots of pictures and then just choose the ones that you like later without incurring a huge photo paper cost. So, skip the polaroid camera.
Expandable external memory
The last thing I wanted was to be on tour and have no way to take additional pictures because the memory in the camera was full. For me, the solution was to have a camera with swappable memory so that I could just insert another memory card when one gets filled up.
Water-resistant or waterproof
I knew from my Round Lake Erie trip that at least a couple of times each week I would ride through heavy rainfall. I wanted a camera that could handle some water so that I wouldn’t be worried about the camera during a downpour.
Standard batteries (AA/AAA)
Power is another problem that needs to be considered in the touring context. There are some touring areas where it will be inconvenient to have to stop to recharge camera batteries.
I believed that a better solution was to use a camera that allowed normal AA or AAA batteries as well as rechargeables.
Software/Hardware for transferring photos
Once the pictures made it to the camera I wanted a simple way to put them on my computer so that I could edit them or copy them to a recordable compact disk.
Mechanical zoom
On tour, I would rarely see animals up close long enough to take out my camera and snap a picture. I wanted a camera with some sort of mechanical zoom so that I could attempt to bring them closer.
Many cameras also feature a digital zoom. This was not of interest to me since most photo editing software can apparently do a better job of digitally zooming the picture anyway.
Tripod compatible
Seldom am I visible in my tour pictures. The only time I am visible during my Lake Erie trip happened when someone else was kind enough to take the picture for me.
I believed that a tripod setup of some kind would allow me to be in more of the pictures.
Occasionally I like to attempt to take low-light shots. For these to be successful it is important to have a very steady hand OR to use a tripod to get rid of the shakes.
Taking better photos
First off, I’m not going to get involved in film versus digital or even in what quality of camera one needs. A shot made by a $2000 super-everything camera can be just as disappointing as one from a point and shoot throw-away camera. What I’m going to try to accomplish is to get you to visualize what the photo is going to look like after it’s shot and take steps to improve it before you press the shutter.
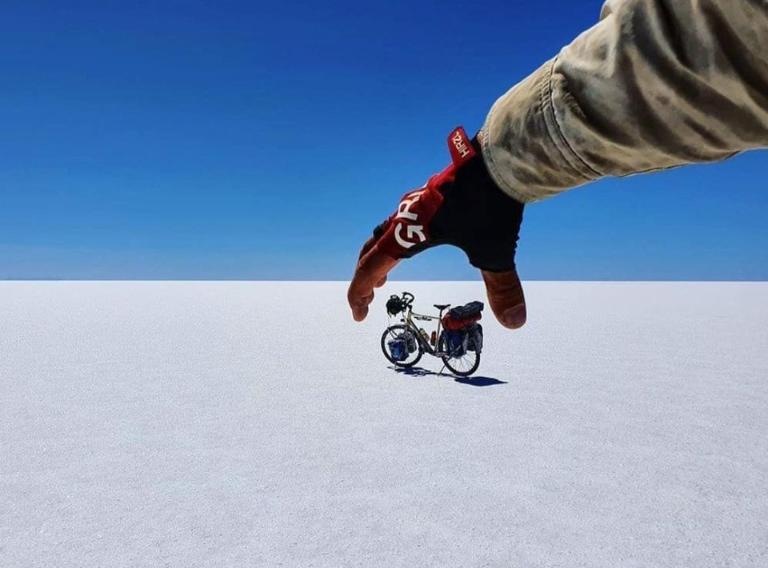
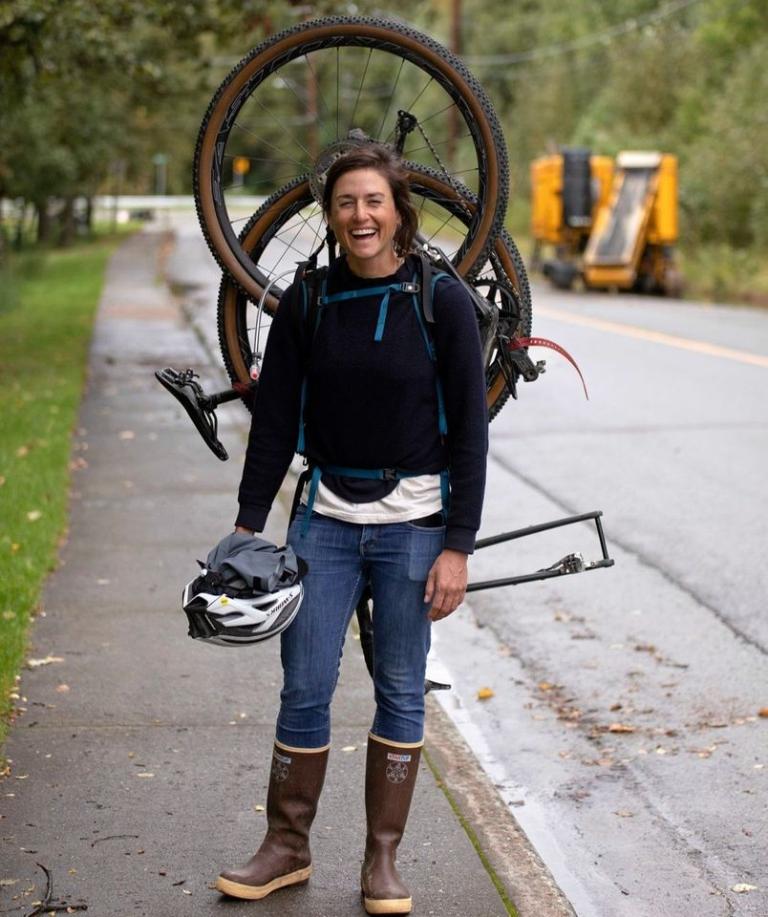
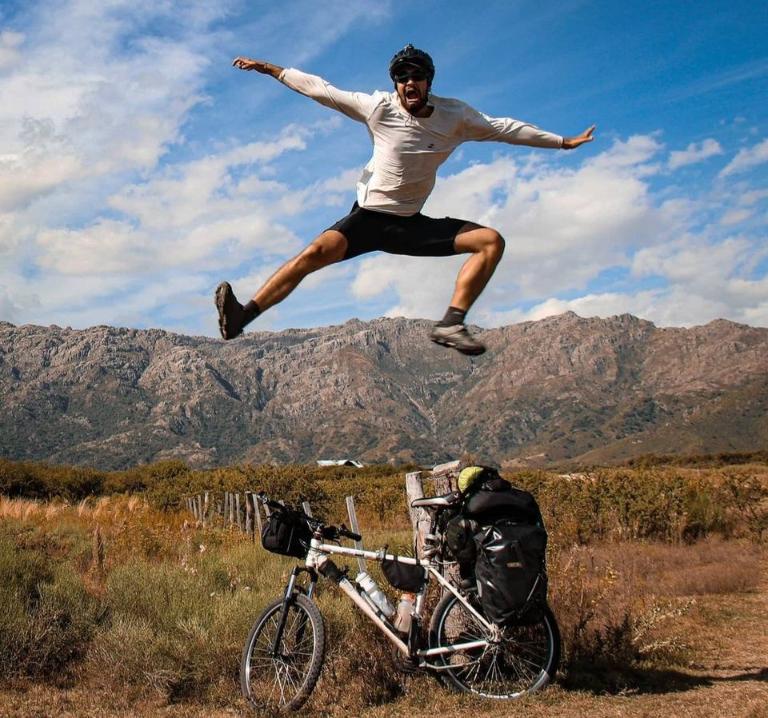
The best photo is one that tells a story and needs no caption. This is a perfect example. It absolutely screams bicycle touring and the life that goes with it. Cover the rider and bike with your finger and the photo becomes just another dull and uninteresting shot.
Frame your photos
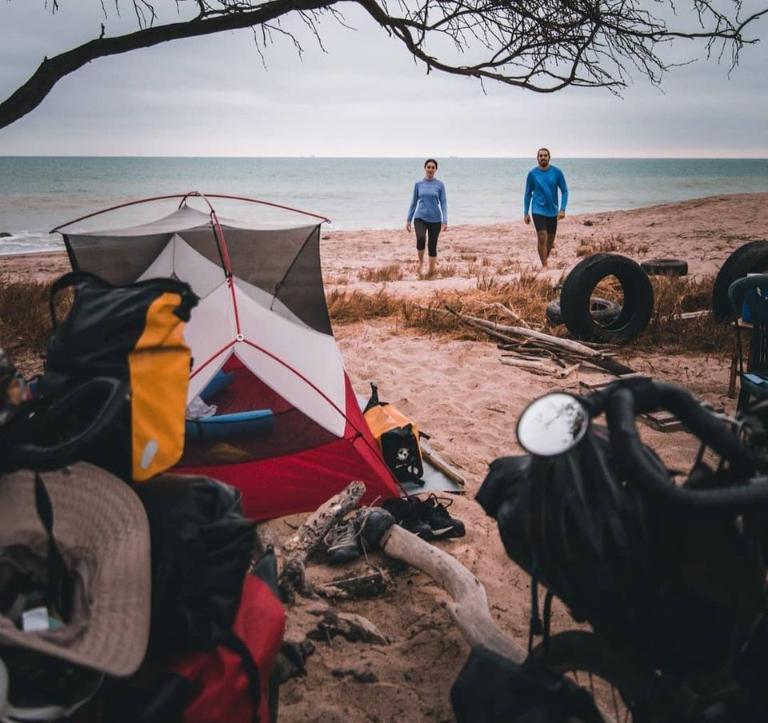
Everyone knows that a frame improves the quality of a photo.
It doesn’t have to be all the way around, just enough to give the photo depth.
Almost anything in the foreground can form a frame and give a location from which it was shot.
Combine the frame with something carrying the eye to the main part of the photo and it works even better. If there is movement, all the better.
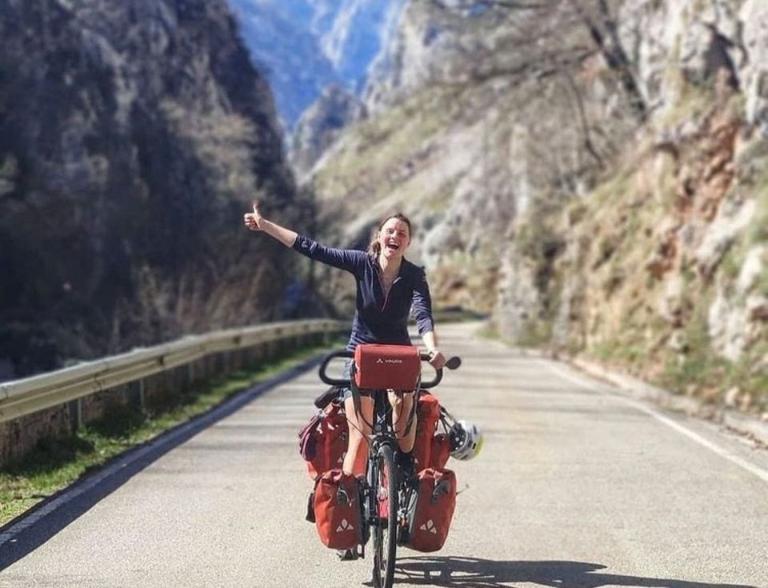
Put a bike in the picture
It gives scale as well as showing why you were there and what you were doing when you took the photo.
Take the bike out of the pictures and it becomes just a photo of something.
Turn dull into interesting
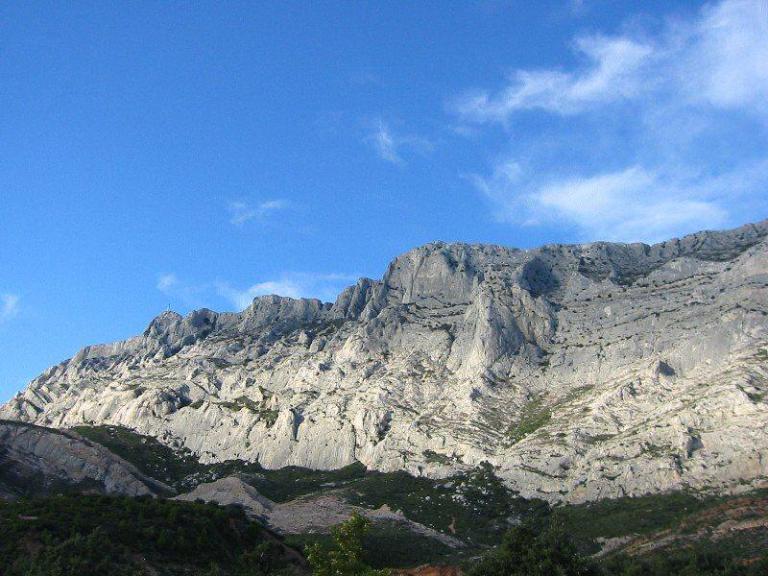

These two photos are almost identical shots of the same scenery except one is interesting and the other rather dull.
They were shot from two different locations, only a few hundred feet apart.
The difference is the road which carries the eye to the mountain and gives it depth and perspective. Find something that will point to what you are shooting.
Pictures of people
In most pictures of people, they are about an inch high on the print with lots of ground, sky and clutter all around them.
If you are going to take a photo of someone, take their most important feature, their face.
The basic rule when setting up to photograph someone is to move halfway to them, then move closer again. With most cameras having basically a wide-angle lens on them, you should be able to just about reach out and touch their nose in order to get the best photo. Then you get a photo that looks like a mug shot without the ruler beside them to show how tall they are.
Think portrait when you are shooting a pix of a person. You gotta pose them. I’ve shot wedding photos for years and believe me, few people getting their photos taken are more uptight and stressed than at a wedding.
Here are a few tips on how to relax them.
First, have them turn to their left just slightly, about 10 degrees is all, then turn their head back toward you. Have them lean back enough to put all of their weight on their left leg and then tell them to unlock their right knee.
If they have a problem with that, lay a film can or something like that on the floor and have them put their foot upon it. You need only an inch or so.
Tell them to look into the lens, lower their chin just slightly than look at the left edge of the lens. Then say, “OK, Let me see that beautiful smile” (works a lot better with women :-) and you have about two seconds to get your shot.
If you want a shot with their hands in the photo, it works a lot better if you hand them something to hold, I like to use a cap off a 25mm film can. It makes their hands look natural. Above all, never let a guy stick his hands in his pockets. Since it’s a bicycle ride, you can include just enough of the bike in the frame to show what it is and a water bottle makes a great prop to keep the hands busy.
Finally, if you are shooting in bright light and have the ability to override the auto flash, make it fire when you take the photo to fill in the shadows. One trick is to find the little opening through which the flash reads the light and put your finger over it. Bright sunlight is always more light than the flash puts out. Flash fill gets rid of the shadows under the chin, nose and eyebrows.
Finally, use some imagination. Have them doing something or at least with an interesting background. In setting up the shot, look at the background to be sure there isn’t a telephone pole sticking out of the top of their head or a wire that looks like it’s going into their ear.
Should I edit my cycle touring photos?
To edit or not to edit? What should it be? So you’ve just returned from a nice, long and very beautiful tour. Now that you are back the memories are strong and reinforced with what you hope are some great pictures of the things you saw during your journey.
Last year I took a disposable camera with me on my Round Lake Erie tour only at the strong recommendation of my friends.
In the year following that tour, I reviewed those pictures so many times that I picked up my first digital camera. It’s a waterproof camera meaning that I could take it everywhere with me and I did!
Between the Round Lake Erie and Round Lake Huron tours, I took over 5600 pictures. Each one of these pictures taught me something and hopefully, the contrast in pictures between my Lake Erie and Lake Huron tours reflects this.
Today I consider myself a beginner photographer. I’ve learned much in the last year but there is still much more to learn. I guess the solution will be some more tours eh? (grin)
What to edit?
- Cropping of the picture
- Picture resizing
- Zooming in on a specific section of a picture
- Saturation adjustment
- Brightness adjustment
- Sharpness adjustment
- Contrast adjustment
Additional Questions from other cyclists
Do you edit your pictures every night or after you get back?
I actually edit my pictures when the tour is finished. So what I do is take the picture and then copy it in its unaltered form from the camera to the PC. I actually have a small 16GB card that came with the camera. It can only hold 700 full-size pictures but if I reduce the camera resolution to the lowest setting I can capture at least 3000 pictures in an emergency.
This has several advantages for me:
a) Conserves battery power since I do all my editing using computer software. The camera battery power is used strictly for taking pictures.
b) Computer photo editing software can usually do many more things than can be done natively on most cameras.
c) Photo editing can take some time depending on the number of days of pictures you have to go through. In my case, it took me about a week of effort to photo edit my Lake Huron pictures. It’s nice for that time to be relatively free and unencumbered with no huge sleep requirement as you have on tour.
How much storage space do you have and do the memory cards use up power to preserve the pictures?
The actual memory cards do not need power to keep the pictures onboard.
I currently own four 256 GB SD memory cards. Each card can hold over 15000 pictures at my camera’s highest resolution setting. If I drop to my lowest resolution then I can hold more than 100000 pictures per memory card.
The resolution makes the biggest difference if you plan to print them later or do a lot of cropping of the pictures effectively performing a zoom operation on parts of the picture.
How do you deal with the issue of battery life?
I took four sets of rechargeable batteries with me on tour. After 21 days on the road and 30 pictures per day, I was on my last set of batteries when I returned home. I could have easily used normal, store-bought batteries instead.
There are several tricks that you can perform to keep your battery consumption down.
a) Set the auto-focus etc to off and do the focusing manually. This is usually easy since it comes down to “Are you within four feet of the subject or more than four feet away?”.
b) Turn the flash off and only use it when absolutely necessary. On those occasions when it is needed turn it on manually.
c) Turn off your LCD display. Although my camera supports this ability I did not do this. The LCD is apparently one of the largest users of energy in the camera.
I carried enough batteries with me that I didn’t need to recharge so I didn’t bother bringing a charger. However, there are a few strategies that I’ve heard others use.
a) Bring a charger with you into a restaurant and ask to plug in the charger while you eat. This may extend the battery life somewhat.
b) Choose a camera that can use normal batteries. This gives you lots of options for replenishment.
c) Consider recharging your batteries using a solar cell on the back rack of the bike.
