Best Stove for Bicycle Touring
Choosing the best stove for your long-distance bike tour is not an easy task. There are many things to consider such as fuel availability, temperature dependence, cooking times etc.
Petrol Stoves for Bicycle Touring
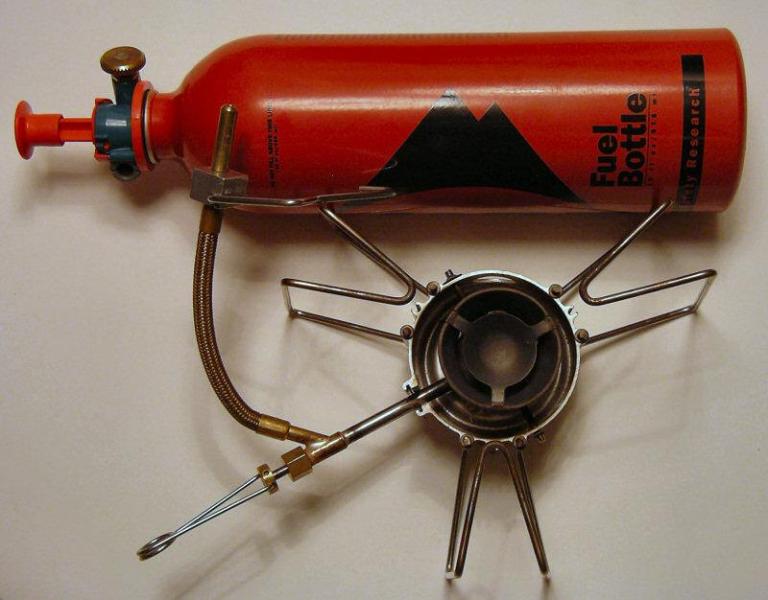
I currently use an MSR Dragonfly stove when I go bicycle touring. I’ve had this stove for four years now and I’ve used it during all of my bicycle touring adventures.
Although heavier than a soda-can stove, this stove is lightweight compared to many other stoves. It is also very compact and easy to pack up so that it can fit inside a small to a medium-sized cooking pot. When deployed the stove provides a sturdy cooking platform.
This stove burns at least six different kinds of fuel so the possibility of actually running out of fuel while touring is greatly reduced. In actual practice, in order to switch fuels, you also have to switch fuel needles. As a result and due to the easy availability of Naptha everywhere I’ve toured I haven’t yet tried burning a different fuel.
Boiling a pot of water is an operation that takes very little time with the DragonFly. One disadvantage of running at high power is the loud “afterburner-like” noise of the stove. It is possible to simmer using this stove since it also includes a simmer control that allows you to dramatically reduce the amount of heat that you are producing.
You will need a fuel bottle for this device. The fuel pump is a mainly plastic piece of hardware that you use to pressurize the fuel bottle.
MSR also offers spare parts and repair kits. I carry one with me that I have thus far never had to use. I also have a spare fuel pump in my “leave at home, mail if needed” box in case the pump should experience a failure.
This stove has served me well during my bicycle touring adventures and despite my recent fascination with soda can stoves, I suspect that this one will continue to travel with me for quite some time.
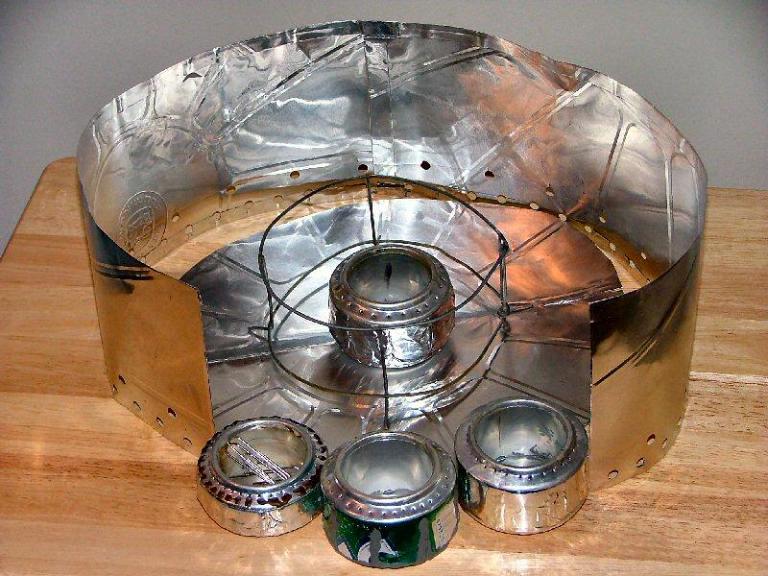
Windscreens, paper clips and clothespins
Sometimes it’s really the simple things that make it all easier. For years I’ve been fiddling with the windscreen on my MSR stove to try to make it stay together nicely when in use while also allowing me to put it away quickly and easily.
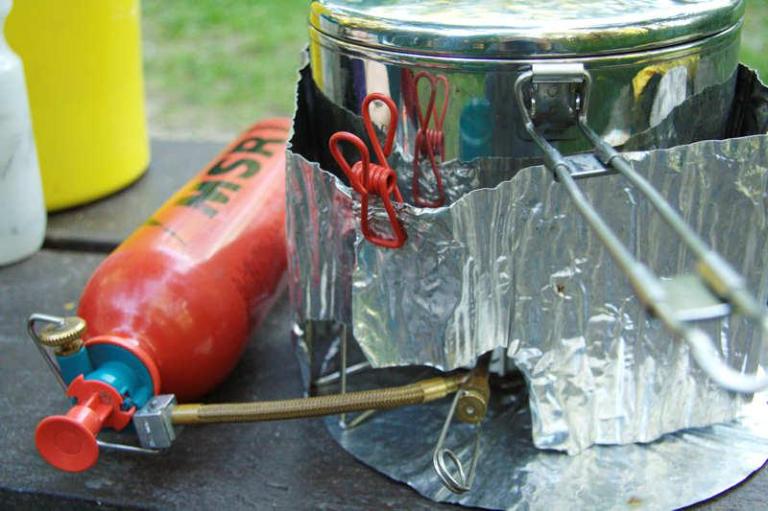
During one tour my friend suggested that I use a simple paperclip to hold the pieces together. I’ve since tried this and the larger clips work well.
An alternative that I used successfully during my Lake Ontario tour was to use a metal clothespin. This proved to be a great solution for me but please use a metal one that isn’t covered by plastic! (grin)
A really simple solution to a mildly irritating problem!
Canister Stoves for Bicycle Touring
Another type of stove that is can be used for bicycle tours is the canister type stove.
One type of camping stove available is the canister fuel variety. Instead of having a fuel bottle, the stoves run on compressed butane/isobutane/propane mixtures. There is no loose fuel to handle, and these stoves could not be easier to use. While not as cheap or light as some alcohol stoves, nor as heavy or expensive as most liquid fuel (white gas) stoves, the primary selling point for canister stoves is the ease of use and their light weight.
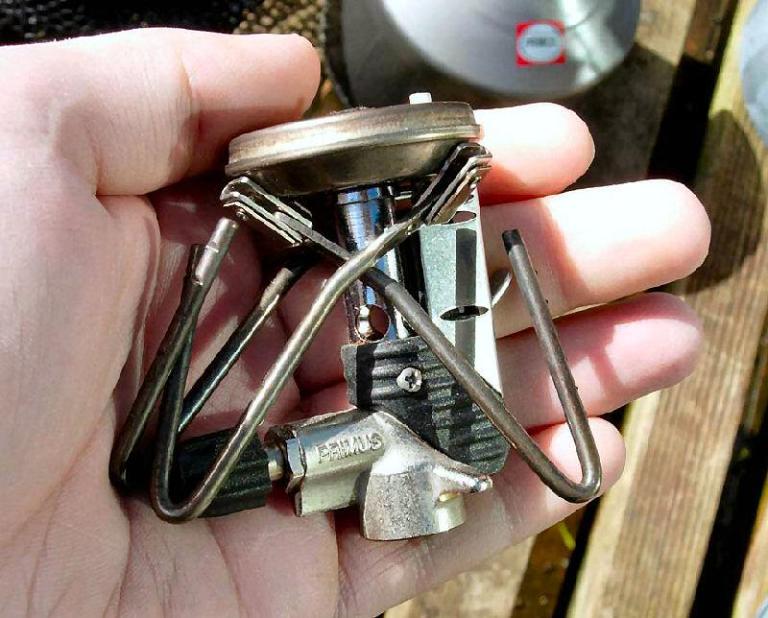
The model I own is the Micron, made by Primus. Other manufacturers include MSR, Snowpeak, Gaz and Coleman’s Exponent line. The Micron weighs as little as 3.5 oz/109g, and packs down very small, making it a good choice for bike touring. The piezoelectric igniter makes lighting the burner as easy as can be. Just turn on the gas and flick a switch to make a spark and I have a flame. Some stoves do not have piezo igniters but rely on matches or lighters instead.
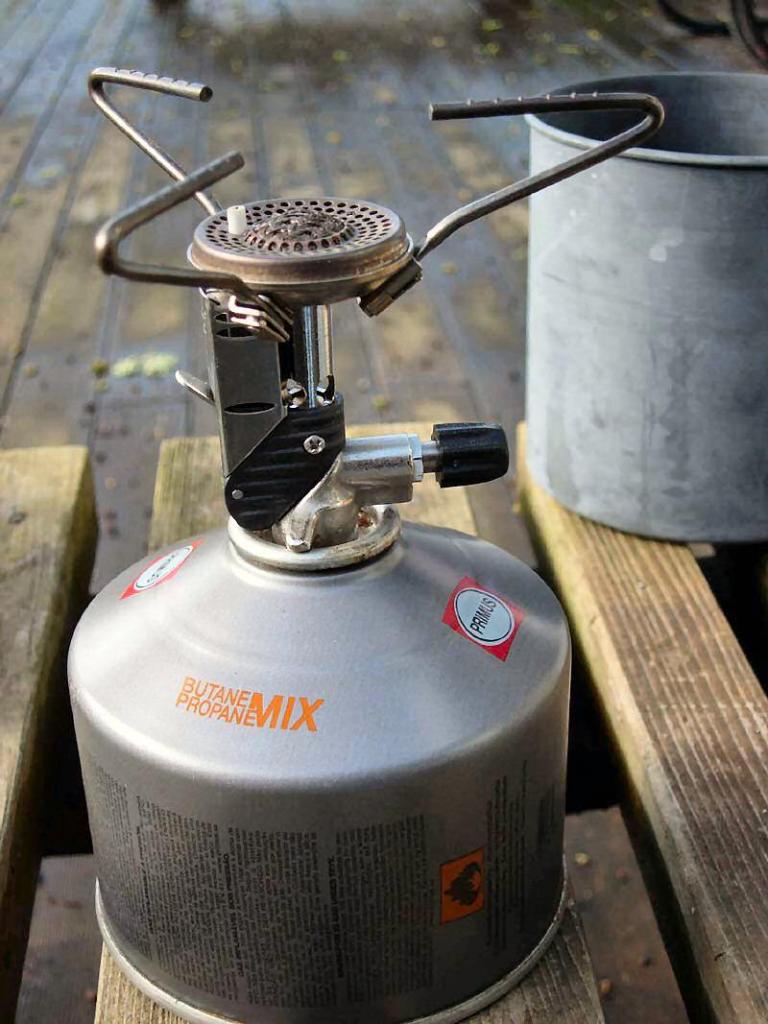
The one large drawback of canister stoves is their performance in cold conditions. Because they rely on fuel pressure provided by the compressed gas, temperatures around 32/0deg f/c (or below) can cause a drop in performance. This drop is amplified if the canister is nearing empty. To prevent the drop-off it is possible to keep the canister warmer, such as in your sleeping bag. I have also just cupped my hands cupped around the fuel to warm it up.
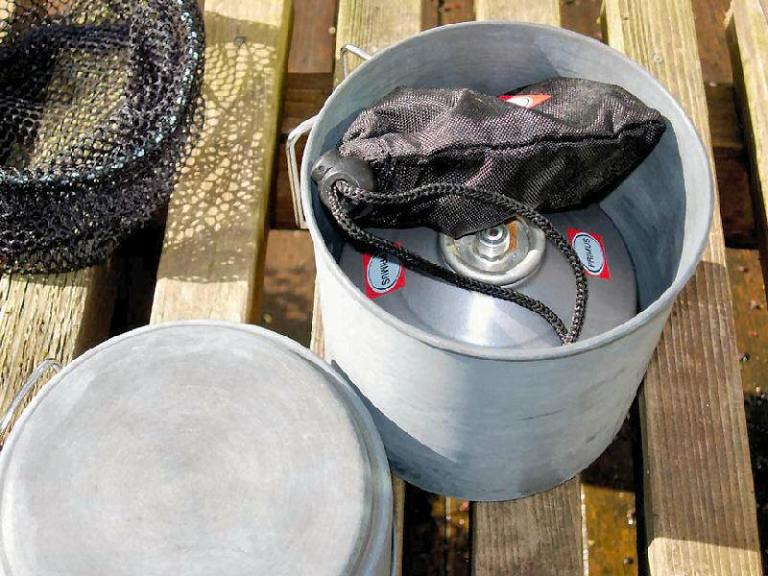
The fuel costs me about $4.00US, and I have gotten nearly a week of breakfast and dinner duty for one out of a single 225g canister. The heat output is similar to the stove at home, and it is similarly adjustable. I carry the stove (folded up) and a fuel canister inside of my 1-litre pot. This gives me a small and lightweight cooking package. The canisters are available from several different manufacturers and can be purchased at most stores where backpacking gear is sold.
Alcohol Stoves for Bicycle Touring
Regardless of how any stove was originally made, whether it was purchased in a store or made at home from plans and ideas seen elsewhere please always remember to use caution! Flames burn and a bad burn could go a long way toward ending a bicycle touring adventure far too early!

It is often difficult to transport stoves and their fuel to the starting location of a tour when you have to fly to get there due to security rules. You could easily pick up a bottle of fuel and rapidly build your own stove from readily available parts and very simple tools. When your tour is complete then you would simply dispose of the stove for recycling or perhaps give it to another touring cyclist that you met at the end of your tour.
Alcohol fuel stoves use denatured alcohol as their fuel. Denatured alcohol is very readily available wherever paint products are sold. This includes stores like Walmart, Home Depot, and hardware stores. You can also use methyl alcohol gasoline de-icer which is sold at gas station convenience stores.
Sterno Stove for Bicycle Touring
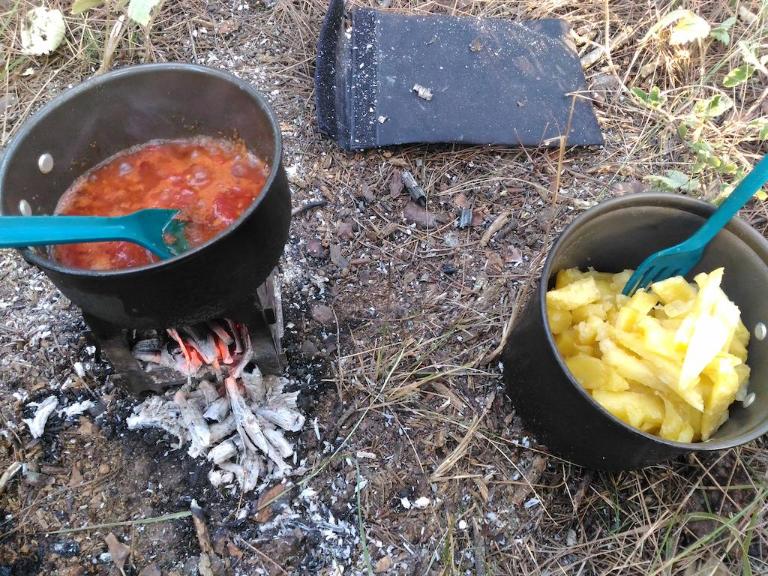
There are lots of camp stoves of all sorts, some good and some that leave much to be desired but one thing they all have in common is a rather high price tag for what you get. Sterno or canned heat has been around for years, mostly found under chafing dishes in buffet lines. During WW II and Korea, it was a quick way for soldiers to heat up C rations or boil water for instant coffee.
It’s ideal for the solo bicycle tourist in that it’s cheap, easy to carry and does an adequate job. Each can cost about a dollar and will burn for about three hours. While not as hot as some of the pressure camp stoves, what it lacks in power it makes up for in simplicity.
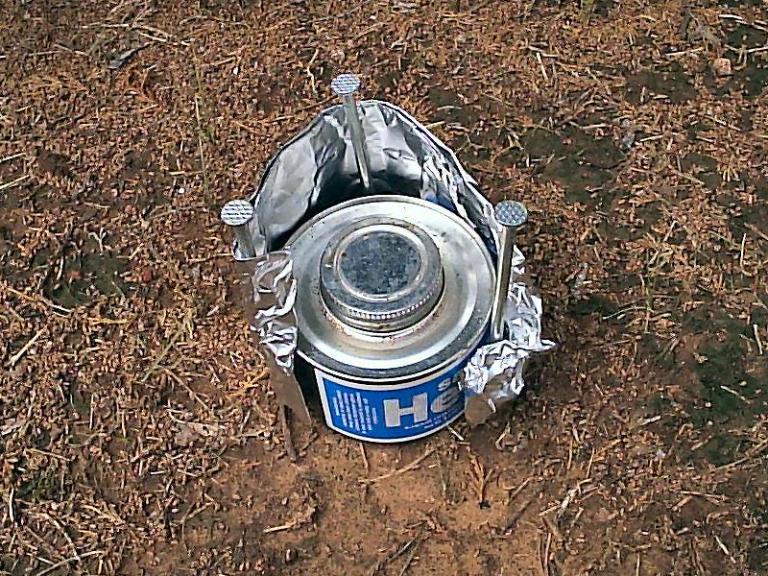
Basically, all you need is a can of fuel, three gutter spikes (big nails about 20 cm long) and some aluminium foil or even a split pop can as a windshield. The shield will concentrate the heat under the pan and make it much more efficient. Great for heating canned or dehydrated foods.
Find a level spot with nothing on the ground to catch fire, set the can level and stick the three gutter spikes in the ground around it. They hold it in place and form the base for your pan. The best height is about an inch higher than the top of the can. Wrap a piece of aluminium foil about 3/4 of the way around it, leaving the top about half an inch below the tops of the nails for venting.
Some of the cans of heat have a wick to light while others are simply open at the top. Both seem to produce about the same amount of heat but those with a wick are safer in that they can’t spill the fluid should they be turned over.
A side benefit to this type of stove is the gutter spikes can be used as spare tent stakes.